You do not need a studio, a camera or a big budget to take photos that sell. Jewelry product photography at home needs four things you already have: a window, a table, a few sheets of white paper and your phone. This guide shows you how to use them before the holiday rush.
Shoppers cannot touch a necklace through a screen, so your photos must answer their questions. How big is it? What color is the metal? What will the person I love see when the box opens? Good holiday product photos answer all three.
Black Friday is November 27, 2026. One calm afternoon by a window is enough to give your best-seller a full new set of images before then.
Key takeaways

Soft window light from the side beats any flash.
Metal reflects everything near it, so surround the piece with white card.
Do not go too close. Step back, tap to focus, then crop.
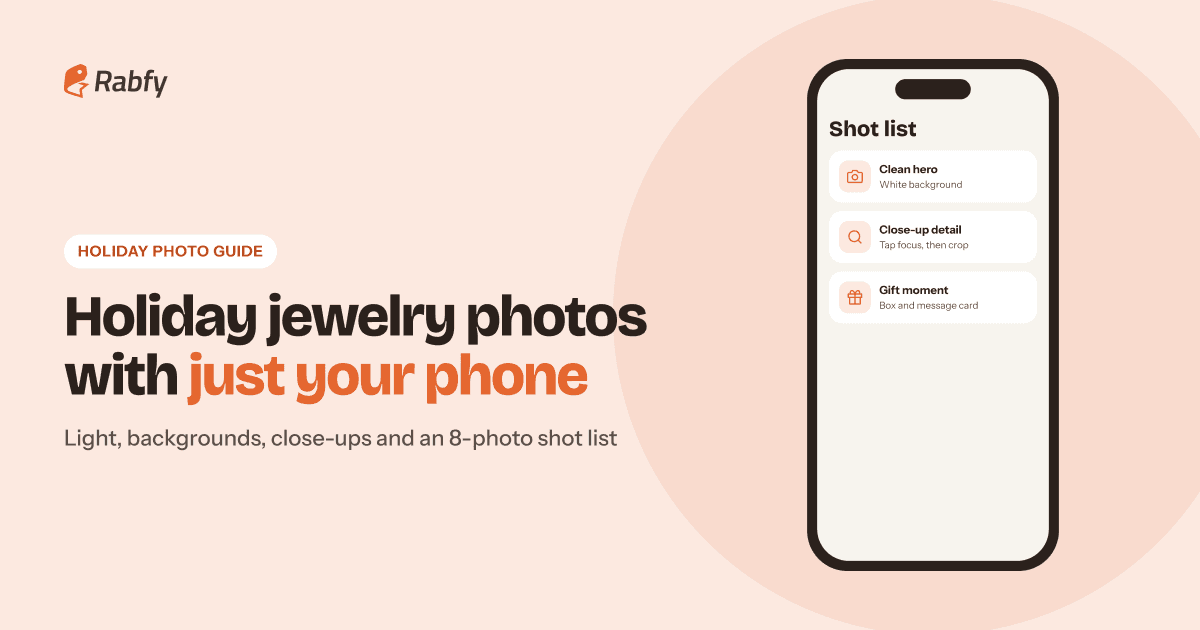
Shoot eight images per product, including a scale shot and the gift moment.
Keep image one clean. Holiday scenes go in the later slots.
What you need for jewelry photos with a phone
 A phone with a clean lens. One fingerprint makes every photo look foggy.
- Two or three sheets of white foam board or thick paper for the background and to bounce light.
- A thin white curtain or baking paper to soften strong sun.
- A small tripod, or a stack of books to lean the phone on.
- A microfiber cloth for dust and fingerprints on the jewelry.
- A tiny piece of reusable putty to hold a pendant in position.
If you sell print-on-demand and have never held your own product, order one sample of your best-seller first. If you live outside the US and Canada, have it delivered to a friend or freelance photographer there. New to the model? Start with our print-on-demand jewelry guide.
Set up your light first: the window method
Light matters more than the phone you own. Soft daylight gives jewelry a gentle shine and true color. Direct sun and flash give hard white spots and black shadows.
- 1Put the table beside the window, so light reaches the piece from the left or right side.
- 2Turn off every lamp and ceiling light. Mixed light gives gold a tint that is hard to fix later.
- 3If sun falls directly on the table, tape baking paper or a thin curtain over the glass.
- 4Stand a white card opposite the window to soften the dark side of the piece.
- 5Switch off the flash, and keep it off.
A bright cloudy day is ideal, because the clouds soften the sun for you. November days are short, so shoot all your products in one session.

Backgrounds and reflections: make the metal stand out
Pick a simple background
The background has one job: make the jewelry easy to see. For the main image, plain white or very light gray is the safest choice on every channel. For the other images, try these low-cost options:
- White foam board, curved up behind the piece so no table edge shows.
- A linen napkin or other light fabric, ironed flat.
- A wood board, stone tile or matte paper in one neutral color.
Avoid glossy surfaces, strong patterns and bright colors, which reflect into the metal. Use the same two backgrounds across the shop, so your listings look like one brand.
Control reflections on shiny metal
Polished metal is a small curved mirror. It shows your phone, your hands, your red sweater and the ceiling. The fix is simple: you decide what the metal reflects.
- Surround the piece with white. Stand white cards left, right and front, with a gap for the phone.
- Wear plain, neutral clothes. A colored sleeve shows up in gold.
- Move the phone, not the product. Tilt it until its dark reflection slides off the main surface.
- Add a black card. If silver looks flat, a strip of black card just outside the frame gives the edges a dark line.
- Clean before every shot. Hold the piece by the chain. Dust looks huge in a close-up.
Get sharp close-ups and show real size
Focus and macro on a phone
Blurry close-ups usually have one cause: the phone is too close. Every lens has a minimum focus distance. Go nearer than that and the picture turns soft, however good the phone is.
- 1Use the main (1x) camera. The ultra-wide lens bends straight lines.
- 2Start about a hand's length away. Move closer until the focus fails, then move back a little.
- 3Tap the pendant on the screen to set focus. On most phones, a long press locks focus and exposure.
- 4Do not pinch to zoom. Digital zoom only enlarges pixels. Step back, shoot, and crop later.
- 5Use a 2- or 3-second timer, so pressing the button does not shake the phone.
Some newer phones switch to a macro mode when you get close. If the result looks grainy at full zoom, go back to the main lens and crop.
Scale shots
A close-up makes a small pendant look large. A scale shot shows the piece next to something whose size everyone knows, so nobody is disappointed.
- On a person. A necklace on a neck, a bracelet on a wrist. This is the strongest option.
- Beside the gift box. Size and packaging in one image.
- With measurements. A simple graphic with pendant size and chain length.
Repeat the numbers in your listing text. Our jewelry materials guide explains how to describe metals and finishes accurately.
Holiday product photos: props without clutter
A holiday photo should say "gift" within one second. One or two props are enough: a sprig of pine, a length of ribbon, a matte ornament slightly out of focus, or warm string lights blurred into soft dots far behind the product.
Three rules keep the scene clean. Choose two or three colors that suit the metal, such as deep green and cream with gold. Keep props matte, so nothing is shinier than the jewelry. And keep the product the largest, sharpest thing in the frame.
Do not show anything that looks like part of the order when it is not. If the ribbon is only decoration, say so in the description.
Seasonal images are also useful for your holiday gift guide, emails and social posts, so shoot a few extra horizontal and vertical versions.
Photograph the gift moment: message card and box
Most holiday jewelry is bought by one person for another. The buyer is not only buying a pendant. They are buying the moment the box opens, so show them that moment.
If your product comes with a card and box, as message card jewelry does, make the packaging the main subject of at least two images:
- The open box, straight on. Lid open, message readable, lit from the side so the card has no glare.
- The box in two hands. Shot from the giver's point of view, as if offering it.
- The card close-up. Fill the frame with the message, so buyers can read every word.

Message cards are available with Rabfy's personalized jewelry line. When your sample arrives, photograph it as it comes out of the package, because that is what the recipient will see. Cards and boxes also work as paid extras: see gift add-ons that sell.
Your holiday shot list: 8 photos per product
Work through the same list for every product, so the session is fast and your listings look consistent.

Shoot all eight while the setup is ready. At the time of writing, Amazon recommends at least six images per product, so you will use most of them. If you offer more than one finish, photograph them together in the same light so buyers can compare.
Edit lightly and export for each marketplace
Editing should correct the photo, not change the product. Your phone's built-in editor is enough. Follow the same order every time:
- 1Crop and straighten. Use one aspect ratio for the whole shop. Square is safest.
- 2Fix white balance until the white background looks white, not blue or yellow.
- 3Raise exposure a little, but stop before the metal highlights lose detail.
- 4Add a small amount of contrast and sharpening.
- 5Remove dust spots with the healing or retouch tool.
- 6Export at full size. Chat apps often compress photos.
Never edit the metal to look more yellow, whiter or shinier than the real piece. A photo that looks better than the product brings returns and bad reviews.
Size guidance differs by channel. This is what the official help pages said at the time of writing (2026). Confirm on each platform's own page before you upload.
| Channel | First image | Size guidance |
|---|---|---|
| Amazon | White background. Product fills 85% or more of the frame. | 500 to 10,000 px on the longest side. Over 1,000 px per side allows zoom. |
| Etsy | Horizontal (landscape) or square. | Width and height of at least 2,000 px recommended. |
| Shopify | One aspect ratio for all main images. | 2048 x 2048 px for square images. Up to 5000 x 5000 px, under 20 MB. |
One rule covers all three: export a square image of about 2,000 pixels per side. On Etsy, photos work together with your title and tags, so read our Etsy listing SEO tips before you publish.
Product photo tips: common mistakes and a 2-hour plan
Most weak product photos fail for the same few reasons. Check your current listings against this chart.

One more mistake is easy to miss: never checking on a phone, where the first image is a small thumbnail. Can you tell what the product is at that size?
A 2-hour reshoot plan for your best-seller
- 120 minutes: set up the table, cards and phone. Clean the piece.
- 260 minutes: shoot the eight photos, three or four frames each.
- 330 minutes: choose the sharpest frame of each, then crop, correct and export.
- 410 minutes: upload, put the clean hero first, and check the listing on your phone.
Frequently asked questions
Can I take professional jewelry photos with just a phone?
Yes. Light and stability matter more than the camera. Soft window light, a white card, a steady phone and a clean lens give you sharp, true-color images.
What is the best background for jewelry photos?
Plain white or very light gray for the main image. For extra images, use matte, neutral surfaces such as linen, wood or stone.
How do I stop reflections when I photograph jewelry?
Surround the piece with white cards, wear neutral clothes, and tilt the phone until its own reflection moves off the main surface. Never use flash.
How many photos should a jewelry listing have?
Aim for six to eight: a clean hero, a detail close-up, a scale shot, the gift box, the message card and a holiday scene. Keep holiday props out of the first image.
Get your best-seller photo-ready for the holidays
Rabfy's personalized jewelry line is made in 1–3 days and shipped with tracking across the US and to Canada. Open a free account, order a sample and shoot your holiday photos this week.
Start selling free